No Products in the Cart

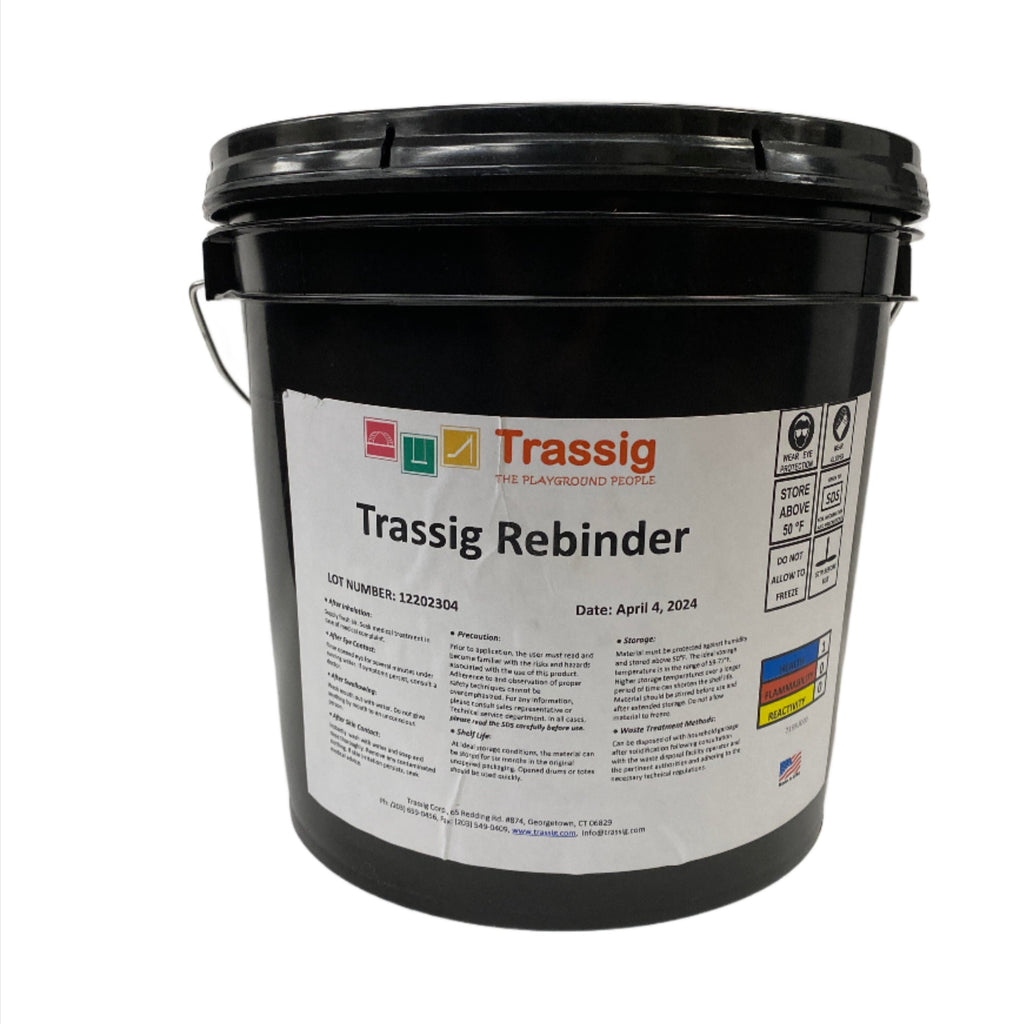
Packaging: 2 gallon pail (17lbs)
Coverage: Each pail will cover on average 400 sf. This will be greatly affected by how tightly troweled the wear layer is and the last time the surface was rebinded.
Shipping time: One to two days.
Trassig's pool deck rubber Rebinder™ is the solution to the age old problem of granulation that usually leads to cracks, holes and expensive repairs to the rubber surface. It is designed to replenish your pool decks rubber surface with the bonding agents that were lost to UV exposure. It is a one component product that is ready to use without mixing with any other solvents. It is very easy to apply and will ensure your rubber surface will last.
The Different Stages of Poured In Place Deterioration
How to Recondition Your Poured In Place Surface with Trassig's Rebinder™
When do I apply the Rebinder™?
You can only rebind your pool's rubber surface when it needs to be reconditioned. Rebinding prematurely can harden the Poured In Place system. We tell our clients to do the "Shuffle test" which means scraping your feet on the rubber surface to see if you can easily dislodge the granules. It's very important to ONLY Rebind when you see loose granules.
Click Here To Download Rebinder Instructions
You will need the following materials:
Look for a sunny day above 60 degrees. If it is going to rain within four hours after applying, do not rebind.
Step 1: Use a leaf blower to remove loose granulated rubber and other debris from area. If necessary, use a power washer with a wide angle nozzle and binder friendly detergent to sanitize the surface. Make sure your surface is COMPLETELY dry before continuing. Check under equipment for possible excess water and moisture
Step 2: Lay down a tarp to avoid splashing and use a paddle mixer to thoroughly mix the Rebinder™ in the pail before use. It is necessary to mix Rebinder™ before use.
Step 3: Pour Rebinder™ into drip pan. Do not mix with other products or solvents.
Step 4: Use a cheap paint roller to equally distribute Rebinder™ on your poured in place surface because you will be throwing it away after installation.
Step 5: Apply pressure when applying Rebinder™ in order to make sure the coat is even and sufficient. Go over each area only one time. Do not treat Rebinder™ like paint. Multiple layers will harden your surface.
Step 6: Even though Trassig’s Rebinder™ is fast curing, secure area and allow 24 hours before use after application. If it rains 4 hours or more after application the Rebinder™ will not be affected, but it cannot rain during the application of the Rebinder™ for it to properly cure.
Watch our installation video here for an example and more information:
Got here in time , and worked out good . Protect our investment.
Wow. this product rally works. I am in Florida, and the sun really faded the colors of the EPDM pool surface we installed just 4 years ago. This rebinder brought back the original sheen they had.
I didn't even know I had to maintain my pool's rubber surface. This product did the job. Great advice from the Trassig Team.
The Rebinder has refreshed the color and sealed any loose particles. Now we’re good for another few seasons 🤩

